
This morning Jonathan wanted to start by first putting the remaining three drain plugs back in KITT. The first drain plug he needed to put back in was in the trunk, so we needed to keep the hatch raised. Unfortunately our trusty hatch-raising mop handle is no more...

So Jonathan improvised and used my little snow shovel.

Jonathan started by roughing up the area around where the drain plug needs to go with the wire brush. This area has already been painted with POR-15.

This is the dirt the vacuum sucked up yesterday. Now that is totally gross.

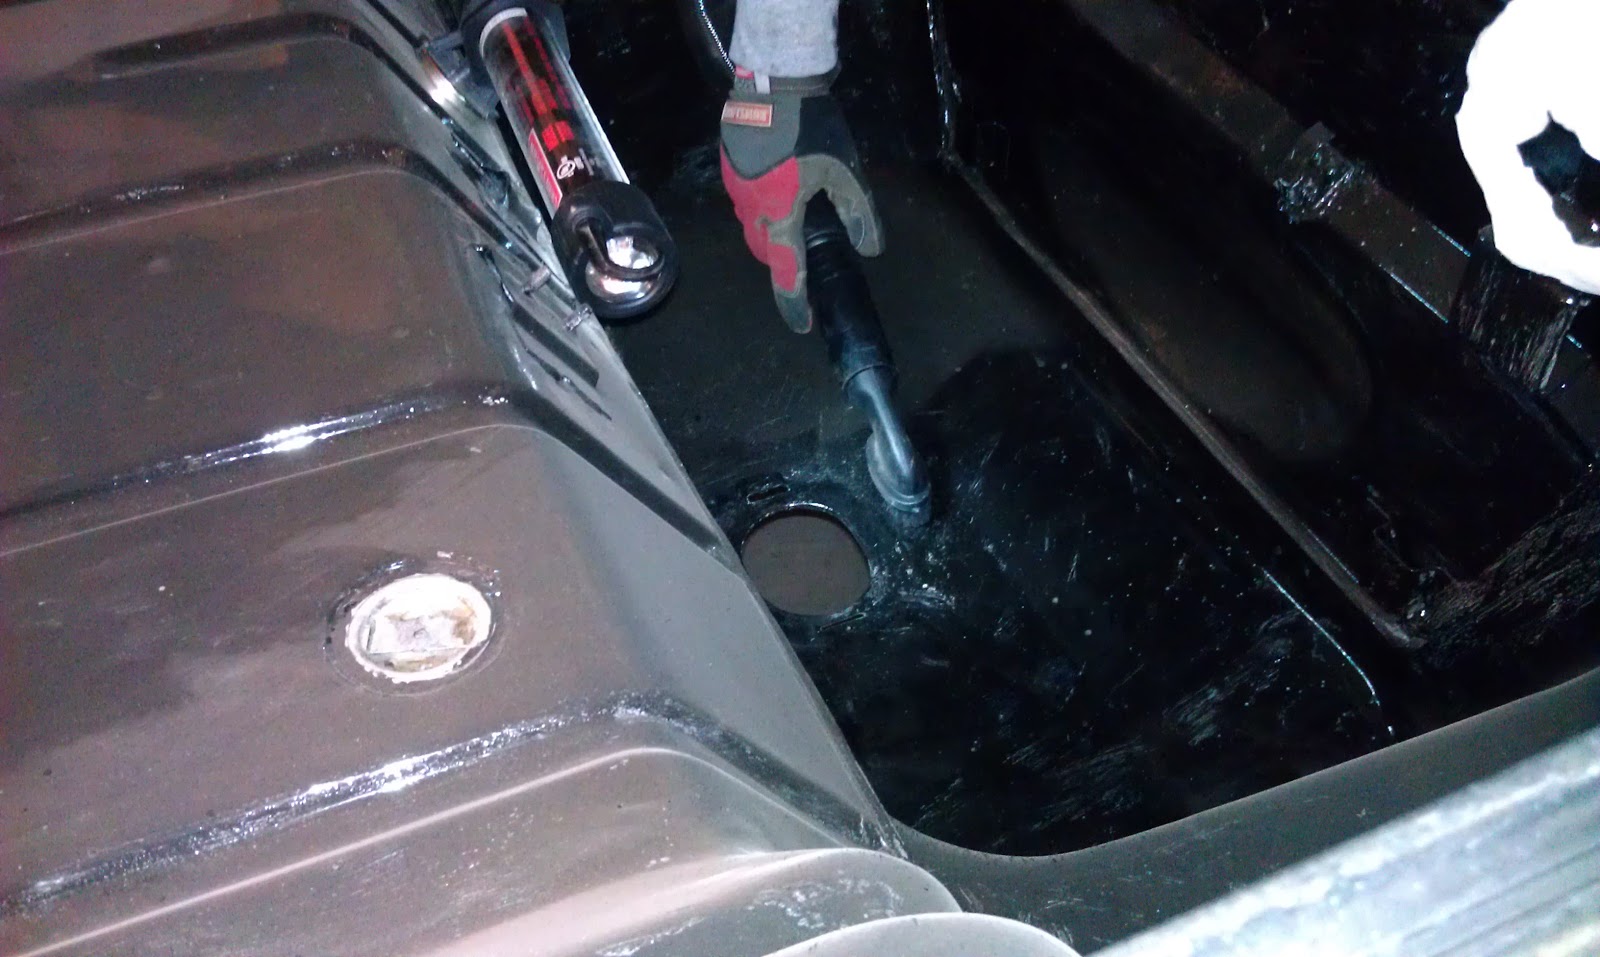
After Jonathan emptied the vacuum canister, he vacuumed around the drain plug hole.
While he was doing that I laid down a tarp underneath the driver side wheel well.

After he used the vacuum on the trunk drain plug hole, he vacuumed the two drain plug holes in the front passenger compartment.

I put another tarp down underneath the passenger side wheel well.

After vacuuming, Jonathan used a damp rag and wiped around the drain plug holes.

Jonathan applied POR-Patch in the same caulking method we used before.

He pressed the drain plug in the trunk firmly,

and then sealed around it with POR-Patch.

The trunk drain plug is in!

Here is one of the drain plugs for the front passenger compartment.

While Jonathan was putting the front drain plugs in, I laid two tarps underneath the rear underbody in preparation for painting.

The driver side drain plug is finished and POR-Patched.

The passenger side drain plug is also finished and POR-Patched.

Next Jonathan applied POR-Patch to some holes in the driver side fender clip.

The clock says it is 11:05AM...

But it is really 10:05AM thanks to Daylight Savings Time!

Jonathan applied POR-Patch to where the rear fender wheel well meets the outside of the spare tire storage compartment. This is a common rust area. After applying a little bit of POR-Patch, he realized we are not painting this area yet, so he did not finish sealing it up. He will have to go back and finish this when we actually paint this area.

Jonathan next applied Eastwood seam sealer to the front fender clips. We probably should have done this last night but we forgot. We were going to paint these fender clips today, but we have decided to wait until next weekend instead. These areas will only receive two coats of POR-15 instead of three like the underbody.

Here is the driver side fender clip with the seam sealer.

Here is the passenger side fender clip with the seam sealer.

We usually go over the area we are going to paint with a wire brush and then vacuum it, but Jonathan scrubbed more thoroughly on this part of the underbody than anything else we have done. We opted to just go over the area to be painted with the vacuum and brush extension instead.

Doh! The trunk drain plug is in upside down. That must be why the clip is sticking up like this. Jonathan tore the drain plug out and re-POR-Patched it back in.

While he was redoing the trunk drain plug, I was counting paint brushes. Doh again! We only have a few paint brushes left. Too bad we did not take inventory of this when Menards was running their 11% off sale this week. We will be reusing paint brushes today because I am not going out in the rainy snow mix to get more.

As soon as we got started painting the rear underbody we realized there is no way to paint the entire thing today. Jonathan painted the last part of the rear passenger compartment, the frames and the pinch welds back to the beginning of the rear wheel wells. I painted the back of the rear seats, the interior sides of the rear wheel wells and the backside of the trunk area. I did not paint the area overhead. I was able to sit up while painting this so it was not too bad. (Remember I am just a little claustrophobic.) My incredibly fashionable shower cap kept POR-15 out of my hair, but I did get a little on my face. I was able to get it all off with a Gojo wipe except for the black vertical line going down my lips. It is really too bad we did not paint a week earlier; I could have gone as Queen Amidala for Halloween.

We finished with the first coat of POR-15 right at noon. Lunch time! We have two more coats to apply today.

We started applying the second coat of POR-15 at 3:45 PM.

I took a picture of Jonathan applying his second coat. The part he painted required him to lay on his back. I was lucky; I got to sit up while I painted.

We started applying the third and final coat of POR-15 at 7:55 PM. We just finished.

No comments:
Post a Comment