Tuesday, February 19, 2013

Ordering KITT's Differential, Gears And Axles

The next thing I need to concentrate on is getting the wheels back on the car. I have been waiting on a guy that specializes in rebuilt differentials, axles and gears, but after three months he has not been able to produce the parts. I decided to give up on him and on Monday I ordered all of the parts I am going to need to rebuild KITT's rear end.

When it came to the limited slip differential I wanted to go with the best. The Eaton Posi is supposed to be the best there is, and is fully rebuildable. 

With the gears I wanted to find a good balance between power and fuel efficiency. The 3.42 seemed to be favored, however since I plan to take KITT on a lot of road trips, I opted for the 3.23 gears. They will provide much better fuel economy at highway speeds with just a slight loss to off the line power. 

I also upgraded to the stronger 28 spline axles versus the stock 26.

Here is everything I ordered:


Eaton Posi Limited Slip Differential

Sunday, February 17, 2013

Creating KITT's Firewall Pad, Part 2

We started on the firewall this morning at 9:30AM. The first thing I did was go over the BXT II with the hand roller we bought last night to smooth everything down.


Saturday, February 16, 2013

Creating KITT's Firewall Pad, Part 1

We began work on KITT's firewall pad today. Because the original firewall pad was not salvageable, I am creating a firewall pad based on RAAMaudio's suggestions using layers of RAAMmat BXT II and Ensolite. To construct a firewall pad, RAAMaudio suggests a complete application of BXT II, followed by strips of Ensolite with gaps in between, then a complete layer of BXT II and a final outside layer of Ensolite.

Here are two pictures of the firewall area before we started this morning.


Wednesday, February 13, 2013

Just For Kicks

I have been debating where to install the 5.25" 3-way speakers I am going to be using for KITT's front speakers. The factory dash speakers are going to be replaced and upgraded too, but since they will end up being covered by KITT's Dash (the 3rd season dash had no speaker grills) I do not want to use those for the fronts. I am going to use them for KITT's voicebox instead.

That brings me back to the debate of where to locate the 5.25"s. I was originally going to purchase the Q-Logic Q Forms to replace the factory kick panels. The only thing I did not like about these was that they stick out so far. I was worried about losing leg room and sacrificing comfort.


Saturday, February 9, 2013

A Farewell To Shoes

Jonathan has been sporadically cleaning and restoring the taillight harness for the past two weeks. Here is what it looks like currently. He has been trying to find someone that restores wiring harnesses, but so far has not had any luck.


Saturday, February 2, 2013

Key Chain And Seat Extension Hardware

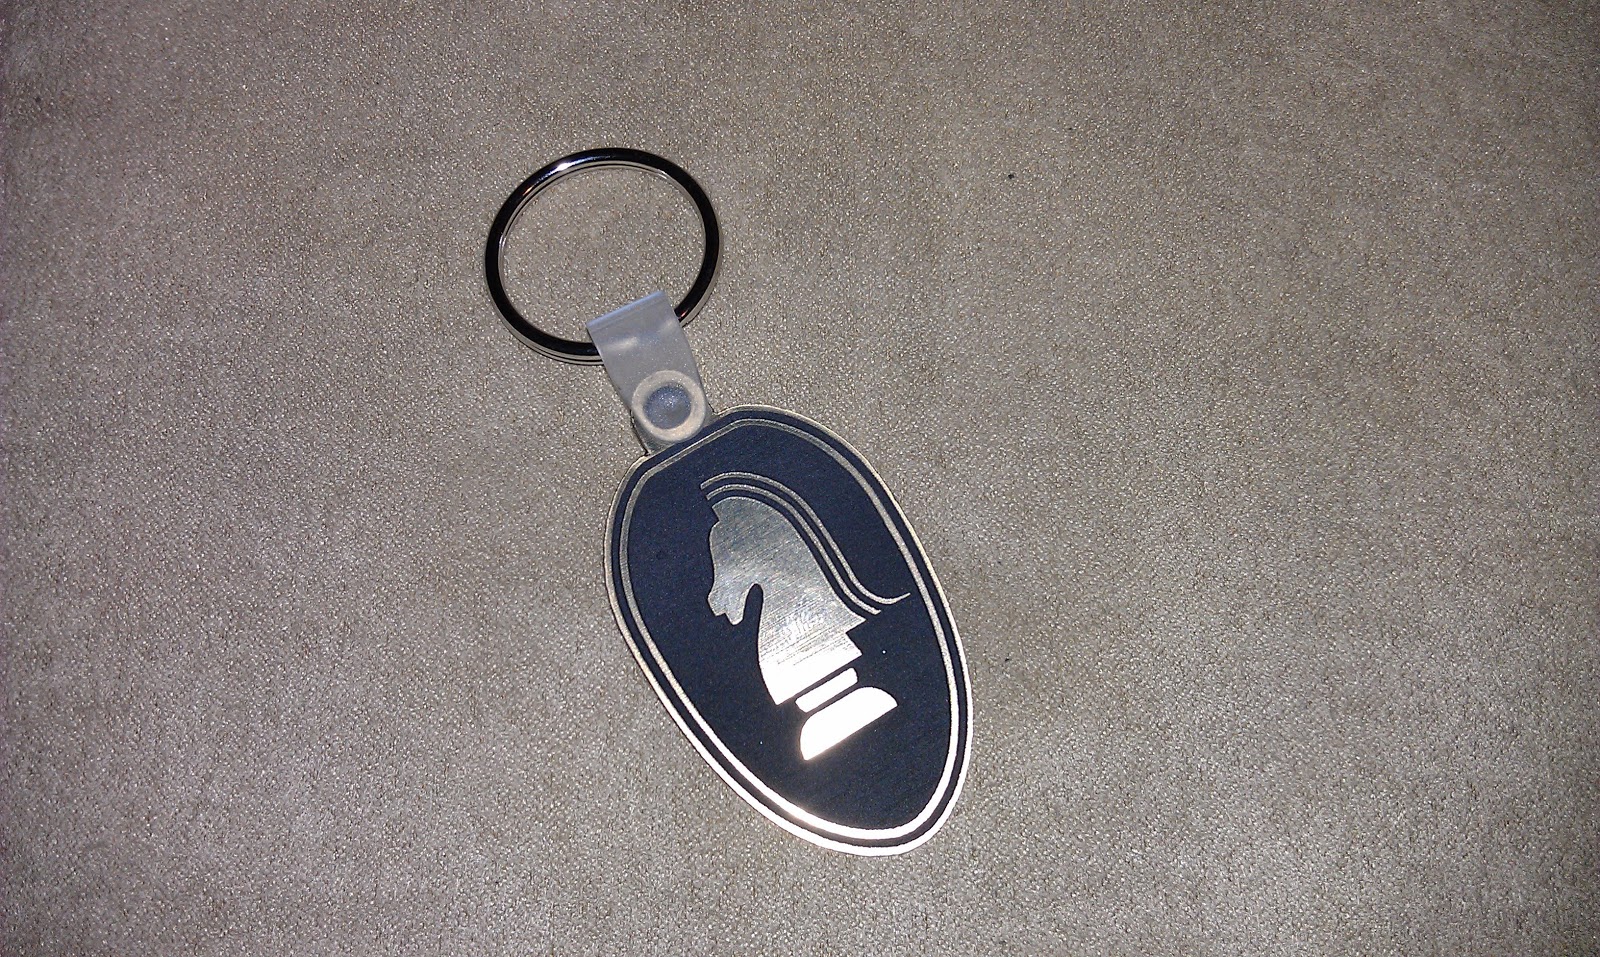
I ordered a couple of key chains from Billy at Knight Designs. They arrived yesterday along with the hardware for the seat extensions I ordered from him. He decided to start including the mounting hardware with the extensions after I had already purchased a set, so he included a set of the bolts with the key chains.

The key chains are plastic with laser engraving. They have a key ring and a plastic mount as seen on many rubber key chains.

Here is the front of the key chain.


Bumper Stickers

I designed some bumper stickers for our other vehicle. I am making these available in the Project: K.I.T.T. store for anyone else who may be interested in one for their car.

There are two different sayings with either the Knight 2000 logo or the Knight Industries logo. The bumper stickers are 10" x 3" and are printed on 4mil vinyl using water and UV resistant inks.


Friday, January 25, 2013

Sound Deadening And Heat Reduction

I have not been out in the garage much due to the very cold weather we have had lately. I have been doing more research though and recently had a really nice conversation with Rick from RAAmaudio. We spoke at length about KITT and what I would like to achieve in terms of sound deadening and heat reduction. He suggested what areas of the car to cover and how much material I would need.

There are two basic components to the RAAMaudio system:
  • BXT II RAAMmat reduces or eliminates many of the vibrations that can lead to rattles on the flexible, resonate prone parts of the car and seals up access holes to block the noise from getting into the car.
    • 37.5 sq ft per box flat pack box, 20 sheets, 11x23"
    • Butyl based formula
    • Peal and stick for easy application, conforms well, stays put.
    • 60 mils thick .060" and .52lbs per sq ft
    • 4 mil soft aluminum finish
    • 250 degree temp rating
  • Ensolite IUO Peel and Stick works as a high frequency acoustical and thermal barrier. It breaks up and diffuses unwanted noise and helps decouple acoustical energy from resonating other parts of the vehicle.
    • Normal application is 3 yards per pack of BXT II.
    • 1/8" thick 
    • Will handle high heat and is fire retardant
One of the more interesting things Rick told me was that his products were recently chosen to dampen the ducting and air handlers on the International Space Station (ISS). How cool is that?

I placed an order for three packs of the RAAMmat and nine yards of the Ensolite. They arrived earlier this week.

Here are the pictures I took of the Ensolite.


Friday, January 18, 2013

Unboxing The Stainless Steel Lines And Clips

Today I received two more packages. The first is from Fine Lines and the second is from Inline Tube. Here is my unboxing video. 

Special thanks to Sara for the fancy camera work.

Seam Sealing The Interior

We had another day with a high in the upper 30s so I decided to seam seal the interior. I knew it be best to apply the seam sealer in the afternoon when it was warmest, so I started this morning by prepping all the areas for seam sealer. I wasn't sure how much seam sealing I would be able to do with what I had left (about half a can), so I decided to focus first on the seam behind the rear seat backs and the two seams for the lower firewall.


Thursday, January 17, 2013

Painting KITT's Fuel Tank: The Sequel

I was able to heat the garage enough to paint the bottom half of the fuel tank today. I was so excited I could paint today that I forgot to take a picture before I started painting. Oops! 

Here is the before pictures with just a little POR-15 already painted on the corner.


Wednesday, January 16, 2013

Lower Control Arms, Panhard Bar And Differential Cover Bolts Unboxing

Two packages arrived today; one from Founders Performance and one from Classic Industries. Here is my unboxing video.

Painting KITT's Fuel Tank

Today was warm enough to start painting KITT's fuel tank. I set the tank on saw horses with a tarp underneath and used the flower pot to seal the opening. Because of the way the fuel tank is shaped I am going to have to paint it in two parts (top half and bottom half). 

The top half of the fuel tank will only get two coats of POR-15 because it sits against the car and will not be exposed.


Tuesday, January 15, 2013

Subframe Connectors Test Fit

Today I did a test fit of the new subframe connectors. I made a quick video showing how they mount under the car and how they differ from the more common subframe connectors on the market.

I also prepped the exterior of the gas tank so I can paint it with black POR-15 tomorrow.


Differential Cover, Subframe Connectors And Wonderbar Unboxing

I received two packages, one from 1A Auto and one from TDS (Top-Down Solutions). Here is my unboxing video.

Monday, January 14, 2013

One Year Anniversary

I got KITT one year ago today. Here is what he looked like on January 14, 2012...


Saturday, January 12, 2013

Energy Suspension Package #3 Unboxing

I received a second package in the mail late this afternoon. It was a third package from Energy Suspension. Here is my unboxing video.

Mystery Package Unboxing

I received a mystery package today from "Order Fulfillment Center in Kansas City, KS". Here is my unboxing video.

Friday, January 11, 2013

Energy Suspension Parts [Update]

I mentioned in my video that the box from Energy Suspension seemed small. I was right. It is because they did not send my clam shell engine mount bushings, the transmission mount bushing, or the lower control arm bumpers. There was also no packing slip or invoice in the box. I have contacted the company, and hopefully this will be remedied next week.

I give Energy Suspension an A+ for amazing, super fast shipping, but a D- for order accuracy.

Energy Suspension Parts Unboxing

The parts I ordered from Energy Suspension arrived today. Here is my unboxing video.