I give Energy Suspension an A+ for amazing, super fast shipping, but a D- for order accuracy.

Project: K.I.T.T. is the restoration and conversion of a 1983 Pontiac Firebird Trans Am into Knight Rider's KITT, and the restoration of a 1987 Pontiac Fiero into a daily driven tribute to KARR.
| Follow Us On | Follow By Email |
|
|---|---|---|
Friday, January 11, 2013
Energy Suspension Parts [Update]
I mentioned in my video that the box from Energy Suspension seemed small. I was right. It is because they did not send my clam shell engine mount bushings, the transmission mount bushing, or the lower control arm bumpers. There was also no packing slip or invoice in the box. I have contacted the company, and hopefully this will be remedied next week.
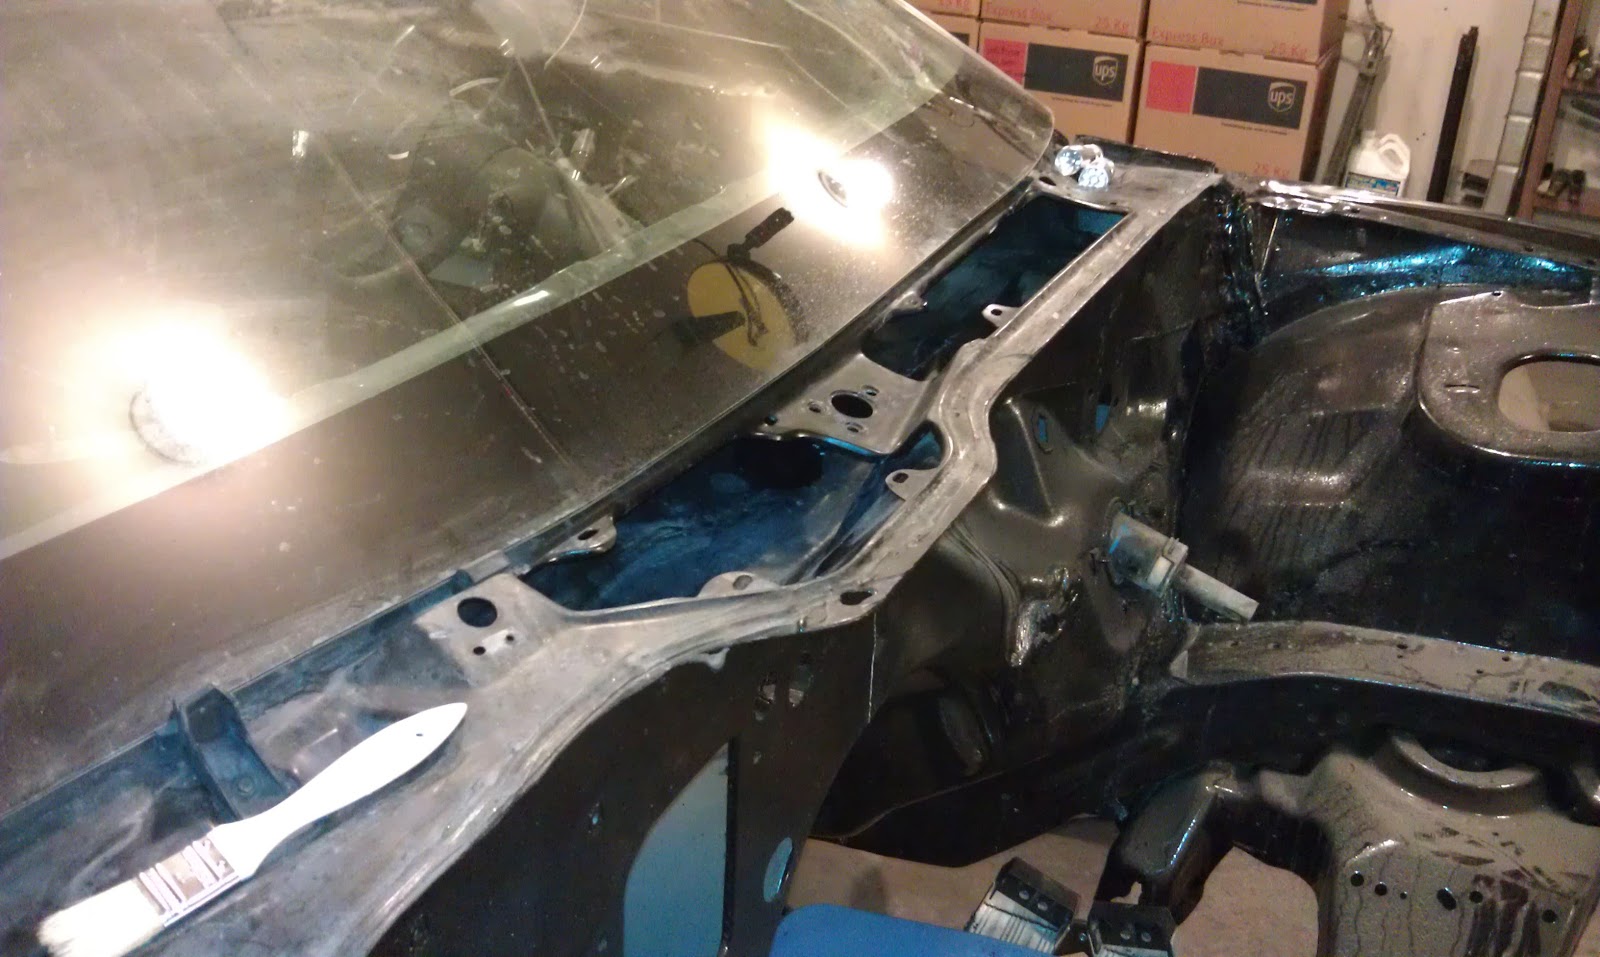
Forgotten Firewall
Somehow in the midst of everything the firewall was forgotten. I am not sure why I did not just paint this when we did the rest of the car; I do not remember why. I am sure we had a reason for not painting it, but now it escapes me. I know this area was MarineCleaned and prepped when we did the inside of the car. Sara's theory is we meant to paint the firewall when we painted the engine bay, and just forgot to do it.
Here is what the firewall looked like before I started this morning:

Thursday, January 10, 2013
Cleaning KITT's Interior
My focus today was on cleaning out KITT's interior. I had been storing finished parts inside the car to save room. I needed to clear this out in order to clean it up. The interior was very dirty, even dirtier than the outside was.
Here is what the inside of the car looked like before I started.

Wednesday, January 9, 2013
Spending Money Ordering Parts
I am very quickly approaching the point where I will start putting KITT back together. Today I spent the majority of the day gathering information and finding the best deals on the parts I am going to need soon.
I ordered the following parts today:
- Lower Control Arms and Panhard Bar with Energy Suspension Performance Polyurethane bushings (Red)
- Performance Polyurethane Front Control Arm Bushings
- Performance Polyurethane Front Sway Bar End Links
- Performance Polyurethane Front Tie Rod Dust Boots
- Performance Polyurethane Torque Arm Bushing
- Performance Polyurethane 32 mm Front Sway Bar Bushings
- Performance Polyurethane 21 mm Rear Sway Bar Bushings
- Front Lower Control Arm Bumpers
- Performance Polyurethane Clam Shell Motor Mount Inserts
- Performance Polyurethane Transmission Mount
- Formula 5 Polyurethane Prelube
- Custom Pontiac Arrow Stainless Steel Rear Differential Cover Bolts
- Rear Differential Cover and Gasket (I will paint this and the calipers red)
- Stainless Steel 3/8 Fuel Line
- Stainless Steel 5/16 Fuel Return Line
- Stainless Steel 1/4 Fuel Vapor Line
- Stainless Steel Front Brake Lines
- Stainless Steel Front to Rear Brake Line
- Stainless Steel Rear Brake Line
Tuesday, January 8, 2013
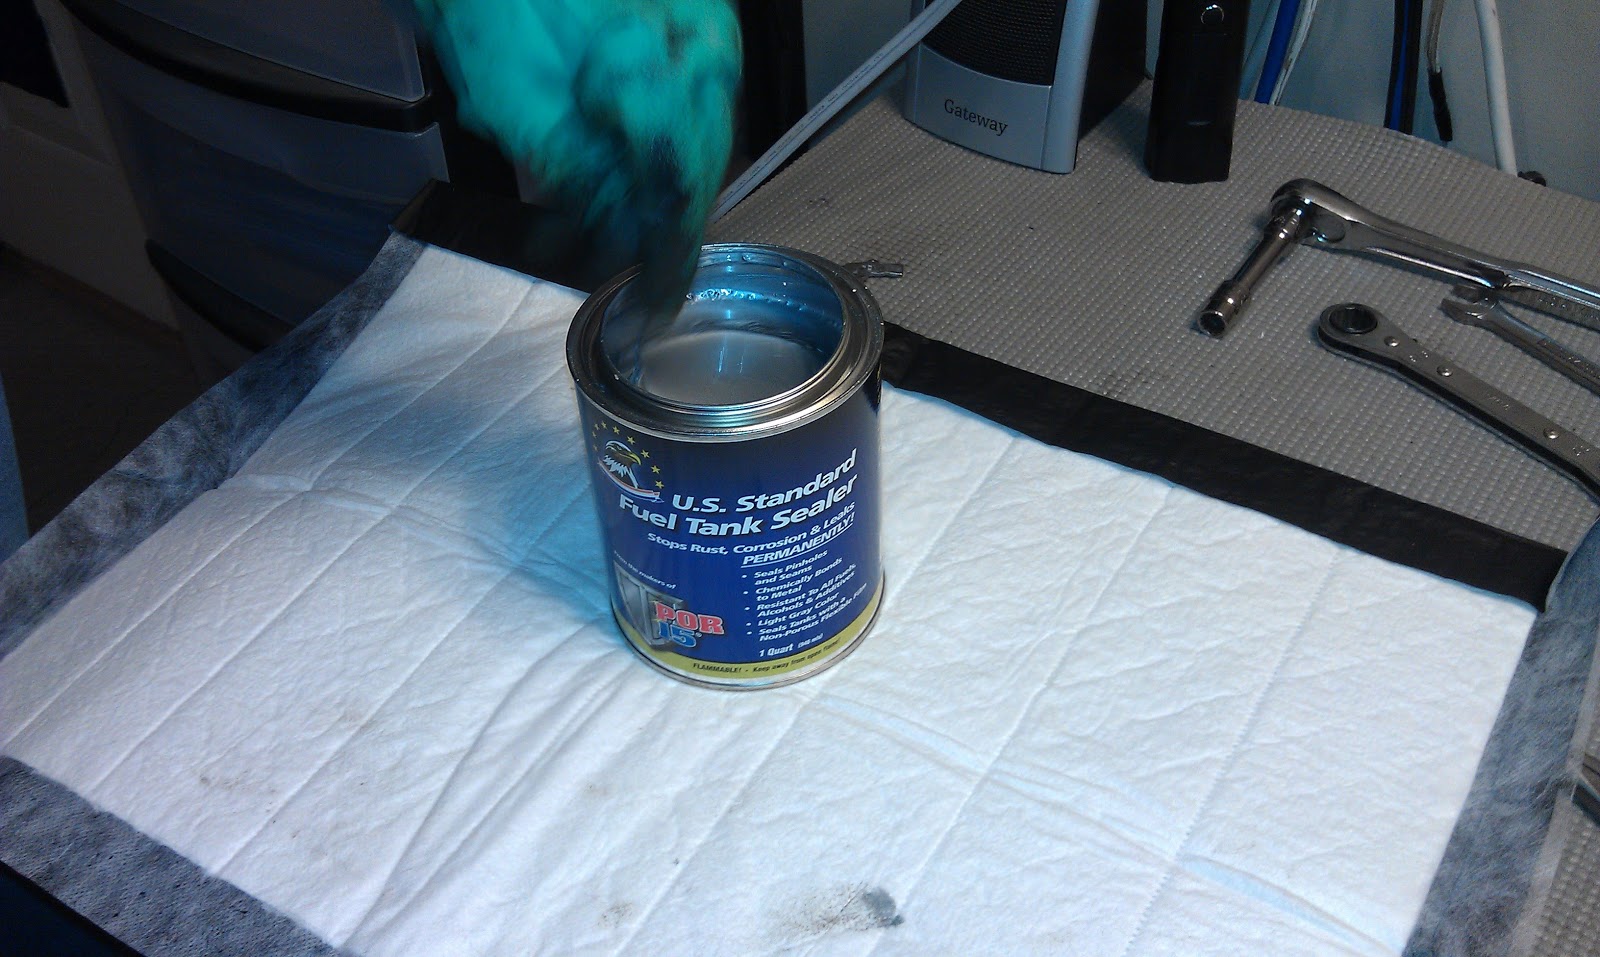
Repairing And Sealing KITT's Fuel Tank, Part 4
This afternoon Dad and I sealed the tank. Once we got the can of fuel tank sealer open (which was incredibly difficult) we took turns stirring it. The directions on the can say it needs to be stirred until the sealer is a uniform color. It took almost 20 minutes of stirring before we decided it was good enough.
Monday, January 7, 2013
Repairing And Sealing KITT's Fuel Tank, Part 3
I started this morning by prepping the fuel tank. The kit I ordered came with a quart of Prep and Ready, which I poured into the tank and then sealed it with my flower pot. The solution has to sit for twenty minutes on each side of the fuel tank so the entire inside of the tank is thoroughly treated.

Repairing And Sealing KITT's Fuel Tank, Part 2
Today I used MarineClean and a scrub brush on the exterior of the fuel tank. I wanted to get it clean so there was no chance of dirt falling inside the tank while I did the Prep and Ready and sealing stage. I put two tarps up by the garage door and set to work.

Sunday, January 6, 2013
Attention Email Subscribers
If you are currently receiving updates on Project: K.I.T.T. by email, you will need to take action in order to continue receiving updates in your inbox. The service I have been using (FeedMyInbox) is shutting down on January 10, 2013 and you will need to switch to the new service (Blogtrottr) before that date.
There is a new signup at the top of my blog for updates by email through the new service (Blogtrottr). Please signup again in order to continue receiving updates by email. Just enter your email address in the box and click the 'Get updates by email' button. Sorry for the inconvenience.
Thank you for reading my blog, it means a lot to me!
Saturday, January 5, 2013
Repairing And Sealing KITT's Fuel Tank, Part 1
I started on KITT's fuel tank today. I bought a Fuel Tank Repair Kit from POR-15 a few months ago but have been putting this off because I knew it was not going to be fun.

Friday, January 4, 2013
KITT's Underbody In POR-15
Today I cleaned the engine bay, underbody, and exterior of KITT. I decided to try vacuuming some of the dust off before using the MarineClean and water process I described in my post yesterday.

Thursday, January 3, 2013
Internal Frame Coating And Clean Up
Today I had not planned on working on the car because last night the forecast for today was a high of 14 degrees and I knew that I would not be able to get the garage warm enough to finish painting. However, when I got up at 7:00 this morning it was already 20 degrees outside and it ended up with a high of 25 degrees! They really cannot forecast the weather for anything. Not that I am complaining that it was warmer than it was supposed to be as it gave me more time to work on KITT. It would just be nice to be able to count on the forecast a day out at least. Okay, this is the end of my rant.
I decided to try out the Eastwood Internal Frame Coating that I ordered. I needed to coat the insides of the lower control/trailing arm mounts. The picture below shows the rust inside the frame on the driver side. The curved area inside is actually the underside of the rear floor pan.
The Eastwood Internal Frame Coating works as described. It is easy to use and I did not even need the spray nozzle extension for these areas. The odor is much stronger than POR-15. I think this has a lot more to do with it being an aerosol. It is also very runny, so be prepared to deal with drips and run off. The high viscosity is supposed to help the coating work its way into all the cracks and crevices. I cannot say much for the color choice (think pea soup), but then again this is meant for the insides of frames and should not be real visible.

Wednesday, January 2, 2013
KITT's Cowl
Today it was finally warm enough outside to allow the garage to be heated enough to finish painting. The cowl is the last of the large POR-15 projects (other than the fuel tank, which Sara just reminded me about). I wanted to treat this area but I have not been looking forward to figuring out how I was going to paint the entire length of it.
Wednesday, December 26, 2012
KITT's Antenna
I have been going back and forth about what to do for KITT's antenna since I started this project. I decided over Christmas that I am going to have the fender hole welded shut and I am am going to go with a concealed antenna. Although the power antenna is really cool and very 80's, KITT did not have one and the antenna would have been the only thing keeping him from being a 100% accurate exterior replica. I also rarely listen to the radio, so the antenna is not all that important to me. I let Mario know to fill it in when he does the body work on the fenders.
Saturday, December 22, 2012

Friday, December 21, 2012
Painting Parts That Will Survive The End Of The World
If the stupid people of the earth unite and get their way... then when the world ends today at least KITT will have most of his parts coated with POR-15. It is as close to a Molecular Bonded Shell as I am going to get.
I put the third coat of POR-15 on this afternoon. The first thing I did was touch up the wiper linkage where I had missed a couple of spots.
Thursday, December 20, 2012
Project: K.I.T.T. Now On YouTube
Over the last few days I have been going back through the videos I have taken so far and cleaning, editing, and uploading them in HD. I decided to create a YouTube channel for Project: K.I.T.T. and feature all of the videos in one convenient place. You can even subscribe to the channel if you would like to stay updated on the latest videos.

10 Degrees Outside And I Am Painting?
I got up early to turn the heaters on in the garage. It was 8 degrees at 5:00AM when I turned on the heaters. At 8:00AM it was 5 degrees! I was thinking to myself there is no way I am going to be able to paint today. Surprisingly at 12:30PM it was 53 degrees in the garage...and warm enough to paint!
Just as I was going to get started I got a call about a job opportunity and had to make a few phone calls. I did not get back out to the garage until 1:30PM.
I had to start by masking off the threads on the tie rod ends. I decided I could paint carefully around all of the other parts.

Tuesday, December 18, 2012
What Can You Do With Four Tubs, Marine Clean, Water And Prep And Ready?
Other than make a mess that is. ;)
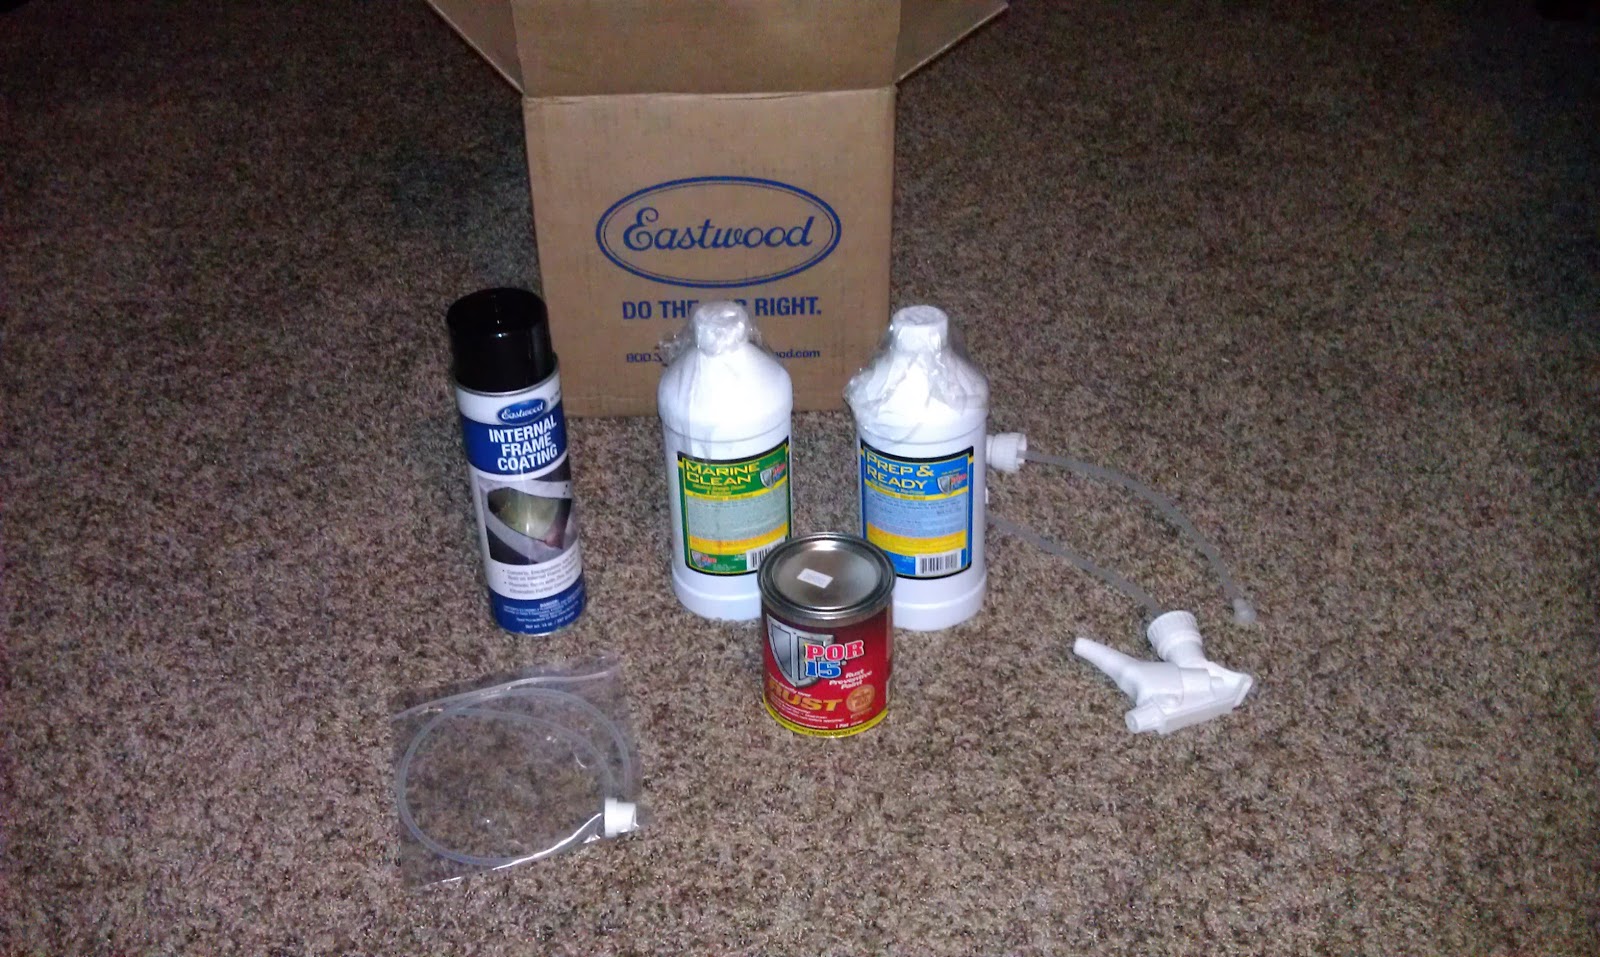
My order from Eastwood arrived today, which is good because I needed the supplies in order to continue working on the cowl and steering linkage. I ordered a quart of both MarineClean and Prep and Ready, a pint of black POR-15 and Eastwood's Internal Frame Coating.
Monday, December 17, 2012
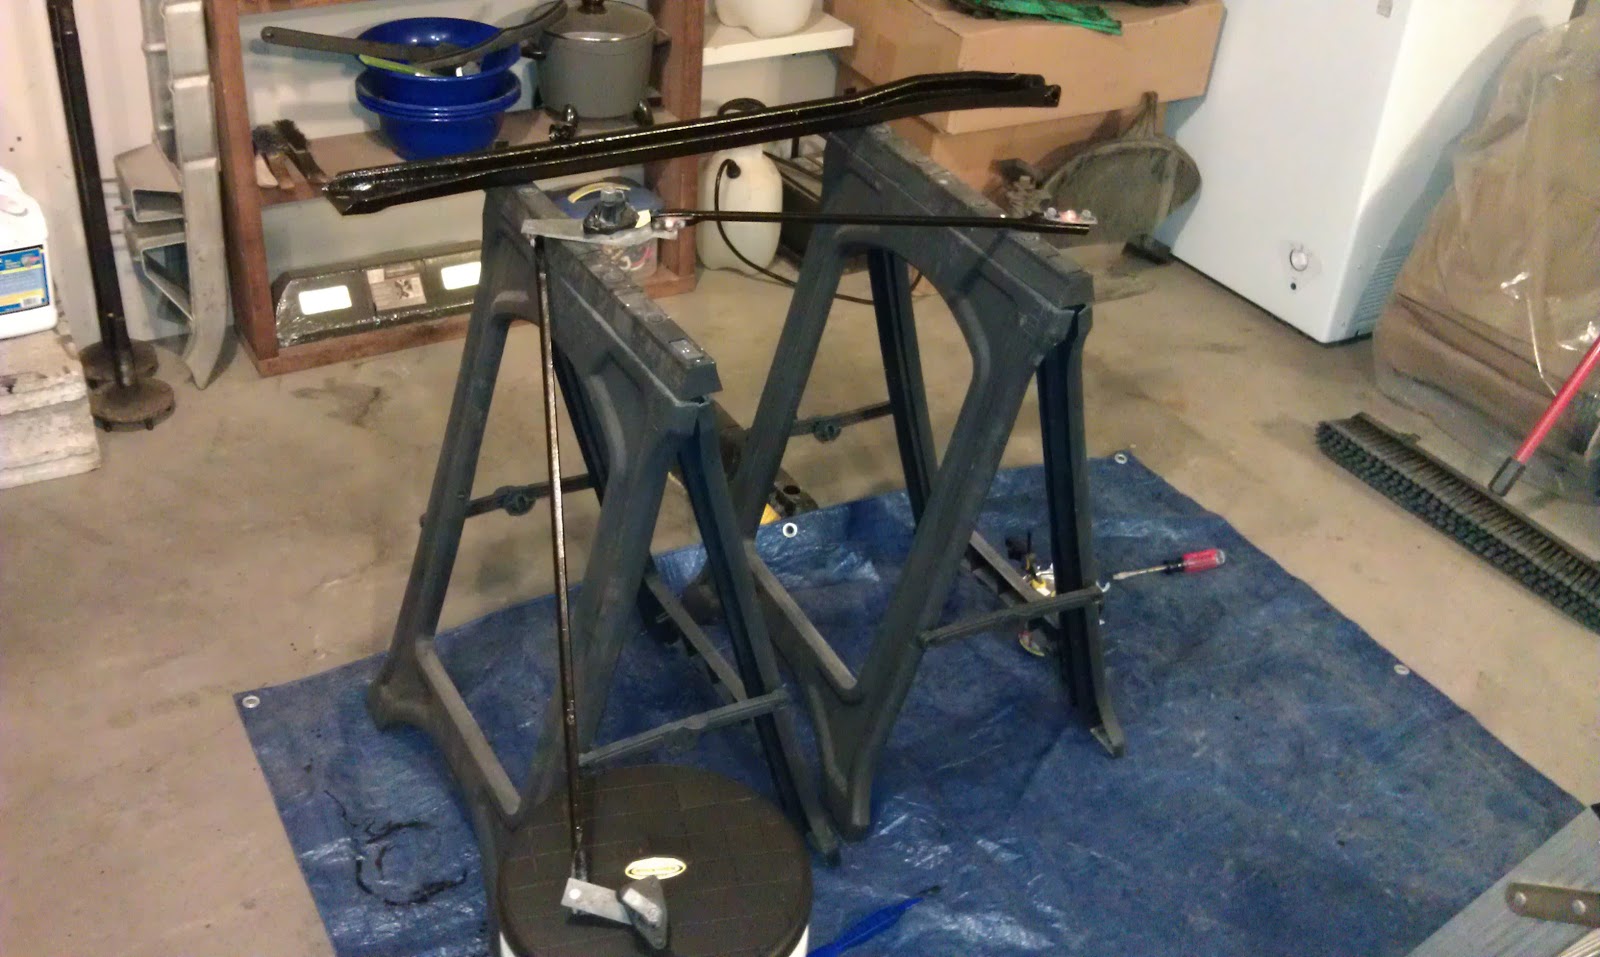
Having A Cowling Good Time
My focus for today was the cowl area. I wanted to get it cleaned out so it can be prepped for paint tomorrow when the extra supplies I ordered get here.
Here is a picture of the external cowl area.

Subscribe to:
Posts (Atom)