Sunday, June 17, 2012

POR-15: Act II, Scene III

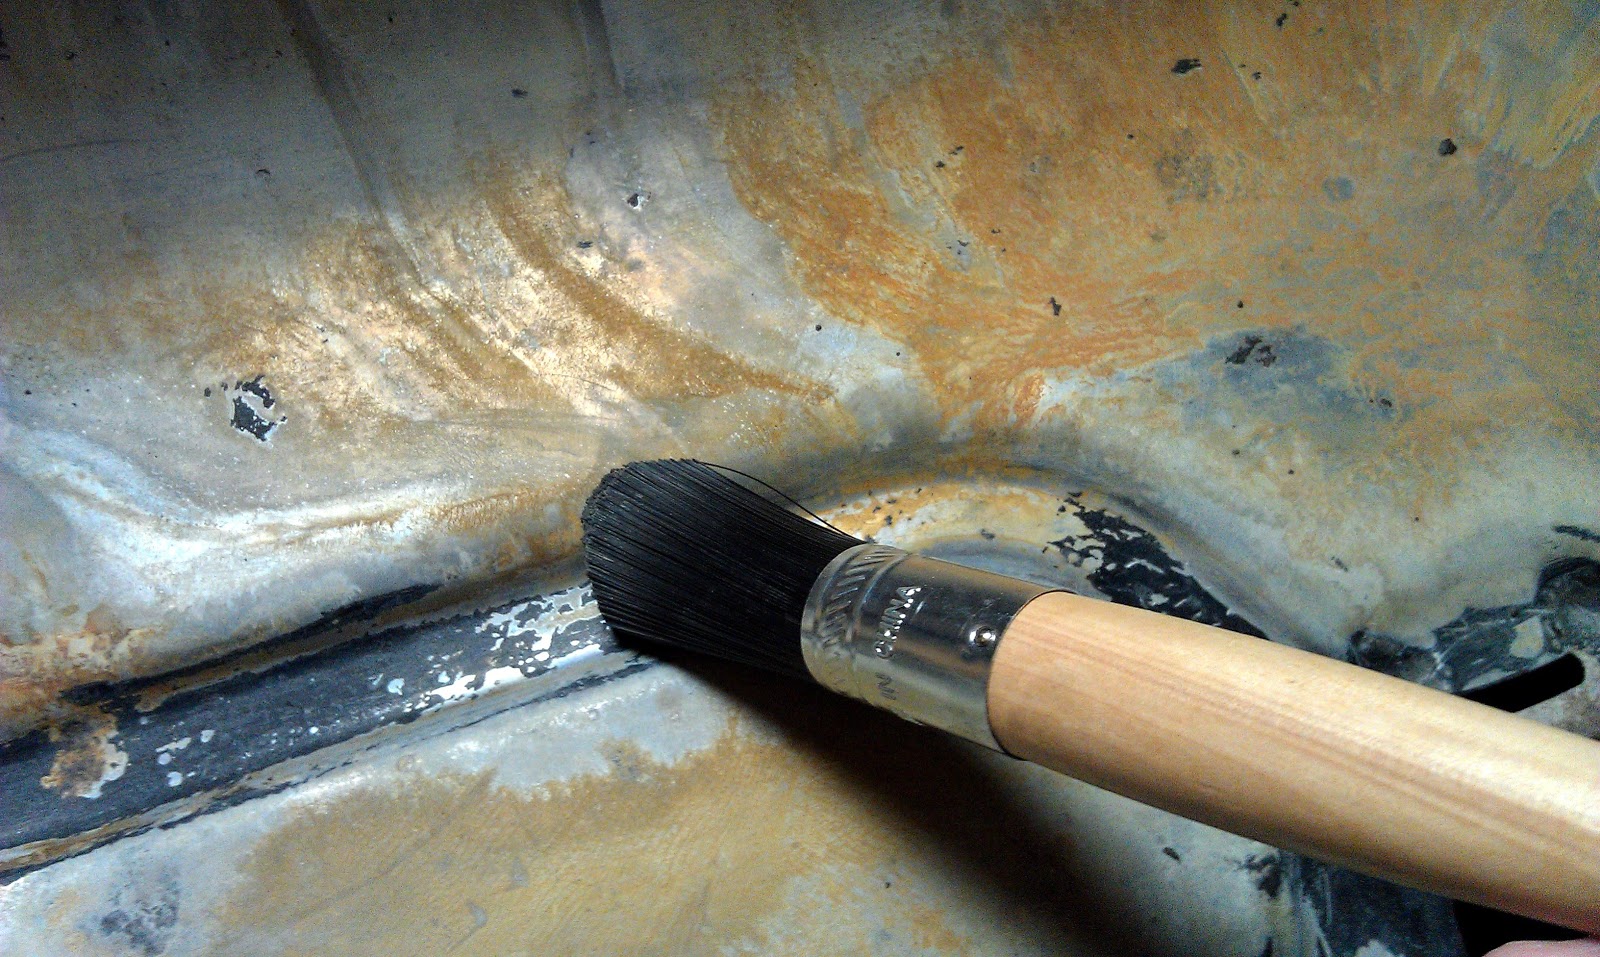
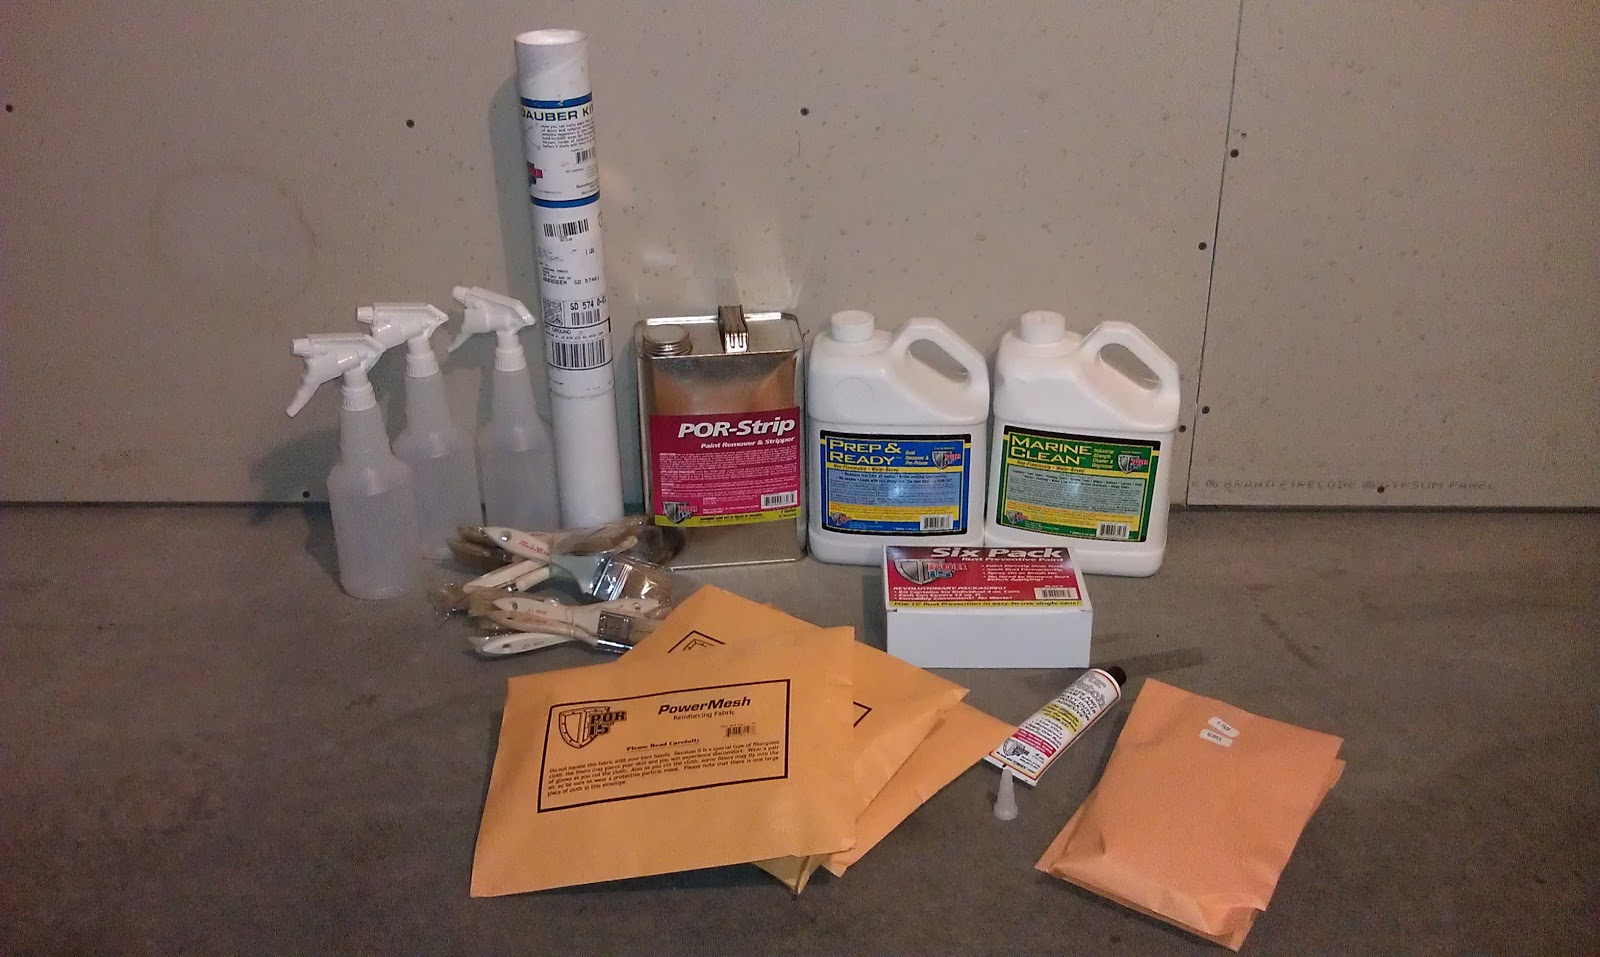
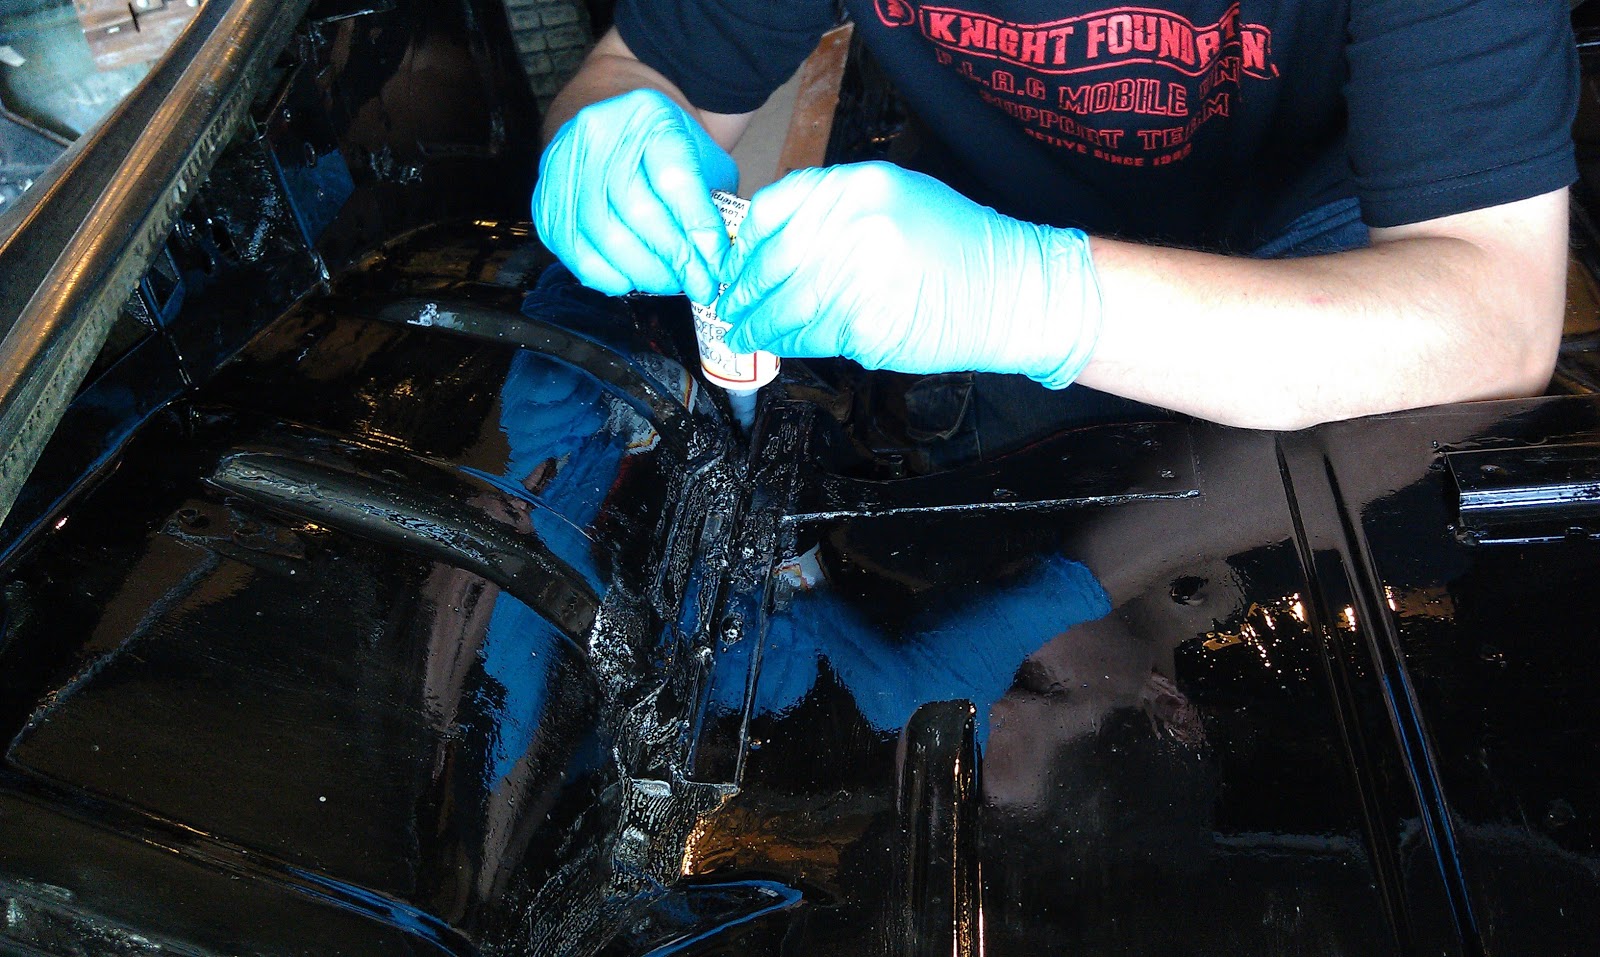
This morning I started by reopening the POR-Patch I sealed yesterday. I applied POR-Patch to a lot of the seams in the car that cannot be covered by the brush-on seam sealer I will be applying soon.


Saturday, June 16, 2012

POR-15: Act II, Scene II

The last time we painted with POR-15, we did both coats in black. This time we did the first coat in silver and the second in black. We thought two colors would make it easier to get proper coverage with the second coat. It was easier to see exactly where we had applied the first coat, but the black over silver did not coat as well as the black over black. The silver and black POR-15 are different. The consistency is different, the coverage is different, the results are different. The black did not seem to want to stick to the silver. It felt like we were just pushing the paint around. Although it did level out, the end result is not pure black like the passenger area of the car, and the finish is no where near as flawless-looking. In the end we wish we would have stuck with the black over black method. Part of the problem was the black bubbled in spots. We think it might have been leftover residue from the car's original seam sealer that had some kind of reaction with the silver POR-15 that caused the black to not adhere to the silver as well. We did not have this bubbling issue with the black over black, and there was leftover seam sealer residue there as well. We used 2 1/2 cans of black POR-15 tonight, so we did end up using the same amount as the silver.


POR-15: Act II, Scene I

This morning Sara started by brushing off all the loose dirt and debris from the areas we planned to paint today.


Friday, June 15, 2012

Back To Prepping

I got off work early, so I started prepping the Trans Am so it was ready for POR-15 this weekend. One of the areas that needed to be cleaned and prepped was the interior channel below the front t-top rail. I had spotted some mild rust in this area and want to POR-15 it to fix and prevent any future rust. I started by laying a tarp across the front of the car to catch the drips.


Sunday, June 3, 2012

Now All We Need Is The POR-15 We Ordered

Since our POR-15 has not come yet, we decided to start stripping the t-top rails. Here are the before shots of the rails.


Saturday, June 2, 2012

Another Stripping Saturday

I started this afternoon by removing the passenger side front ground effect and air dam. I have one bolt that I cannot get the nut loose. Sara and I spent about half an hour trying to get the bolt free, but ended up separating the ground effect from the mounting bracket and leaving the bracket on the car for the time being.


Wednesday, May 30, 2012

Is It Screen Accurate? No. Does KITT Need It? YES!

My latest conversion purchase is the Knight's head logo for the shifter knob. In the series the Pontiac logo normally found on the shifter knob was blacked out. I think the Knight's head, the logo designated for the Knight 2000, adds a bit of authenticity to the car. These stickers have a gel-like feel and a slight domed appearance to them. The sticker is 7/8 of an inch in diameter and is the exact same size as the original Pontiac logo so it is a perfect fit!

The stickers are available from Knight Passions.

Monday, May 28, 2012

POR-15 - Second Application

After five hours we applied the second coat of POR-15. The second application took about an hour and a half. We definitely see the advantage of having two colors. It was very difficult to see where we had applied the second coat and where we had not. We only used one can for the entire second coat. I definitely applied it too thin in some parts with the first can.

We just placed our next POR-15 order. We are hopeful we will receive it by this weekend. We ordered two POR-Patch tubes and another six pack of POR-15, this time with four silvers and two blacks. I found the POR-15 data sheet, and it is well worth the read because it mentions that their silver actually contains flakes of aluminum and is designed for metal strengthening. I wish I would have known that before and used it on my driver side floor pan that was rusted. It was a little maddening because we scoured the POR-15 catalog and web site researching what we need for this project and never saw that mentioned. However, now that I ordered the silver I can coat the damaged area of the underbody and strengthen it underneath. I also plan to use some of the PowerMesh on the bottom of that floor pan.


POR-15 - First Application

Everything dried overnight, so we were ready to rock and roll this morning. Sara went over the area thoroughly with her parts brush to loosen any dirt or debris, and I vacuumed everything off. 


Framed

One of the small things needed for a conversion is the proper chrome frame for the license plate. I found a couple of sources online, but they were very expensive. We found the frame below at Menard's for only $5 and it appears to be an exact match.


Sunday, May 27, 2012

No Camping Memorial Day Weekend; Just Stripping, Cleaning And Prepping

Our plan Saturday was to POR-Strip the entire interior of the car. We started on the front floor pans just below the firewall. We followed the same procedure we used for the firewall Friday, although the results were not nearly as good. It required much more scraping and scrubbing, and left a lot of paint behind. When it came time to rinse, we ran into an issue with the wind and rain outside. Since we could not roll the car outside, we did our best to rinse the front section off in the garage, and decided to work on something else until the wind and rain ceased.

We started by sanding all the remaining well-painted areas in an effort to rough them up for adhesion. Sara used a sanding block for this. I used the mouse sander on a few spots in the truck area, but it seemed to gouge the metal unnecessarily.

Sara sanding


Friday, May 25, 2012

There's Metal Under Here Somewhere

Our second attempt at the POR-Strip yielded better results. We left the first application sit for 30 minutes and then brushed on a second application which was allowed to sit for 15 minutes. Removal was much easier and actually removed all the paint and primer down to the metal in many areas. In other areas just the paint was separated from the primer. Sara tackled the passenger side and I did the driver side. After getting all the loose paint off with a combination of scrapers and hand wire brushes we decided to try a third application.

Third application did the trick and I would say that we were able to get 95% of the paint and primer off. The final photos are after a quick neutralizing rinse. We will do a more thorough cleaning tomorrow when we can get the car outside.

First Application


Tuesday, May 22, 2012

Time To Paint Over Rust with POR-15


The supplies I ordered from POR-15, Inc. arrived this last week and over the weekend I started to experiment a little. 

Here is what I ordered:

  • POR-Strip
  • Marine Clean
  • Prep & Ready
  • POR Patch
  • POR-15 Rust Preventative Paint - Black Six Pack
  • PowerMesh Reinforcing Fabric
  • Dauber Kit
  • 10 Pairs of Gloves
  • Six 2" Paint Brushes
  • Six 1" Paint Brushes

Tuesday, May 8, 2012

Raising The Bar

The garage was a mess of tools so I spent the night picking up after myself and then worked on separating the t-top bar from the car frame. I will need a new t-top bar as this one is rusted out beyond saving. So far it still doesn't look like there are any holes in the body of the car around the T-top channels, but the channels themselves are going to need some attention in order to save them.


Sunday, May 6, 2012

More Grinding, Sanding, Scuffing, Cleaning And The T-Top Blues

We spent today doing some more grinding and clean up of the floor pans and rear cargo area. We found out it does not need to be down to the metal for the POR-15 to adhere; it just needs to be free of flaking and needs to be well scuffed. At this point I am still planning to do the entire interior, but we will see how the floor goes.


Saturday, May 5, 2012

Happy Cinco de Mayo

Today we continued to work on stripping the paint and removed all of the seam sealer from the interior.

Saturday, April 28, 2012

MiniMates And Hot Wheels

My latest Knight Rider purchases :)

KITT's Shell Exposed

KITT: Unharnessed (Part 2)

Today we worked on removing the remaining harness wires from the doors. The cross car wiring door harness runs across the car just below the windshield and enters each door through a rubber grommet. Once we unhooked the wires and pulled them back through the grommets on each door we removed the entire harness by unhooking the cross car tubing.


Monday, April 23, 2012

KITT: Unharnessed

I spent the evening separating the interior wiring harness and fuse block from the engine bay side of the wiring harness. There was a modular plug connecting the two harnesses and once unhooked I could easily pull out the harness inside the car. In hind sight, it would have been much easier to get the dash out if I would have discovered this first. Here are a few pictures of the plug connecting the two harnesses. I also took some pictures of the main harness and sub harnesses once I had them out.